
Till date, you must have been transferring all your photos from the laptop or PC to your mobile phone in order to upload them on Instagram. You must also have been using almost the same set of hashtags on all your photos, for which you always have to copy-paste the text from previous image or draft. What if you get an alternative which allows you to post photos on Instagram directly from your laptop or PC, along with the hashtags that you have to have to define only once. Sounds amazing, right?
LR/INSTAGRAM is an unofficial Lightroom plugin which allows you to publish photos directly to your Instagram profile using Lightroom software. The best part is that this is a free-to-download plugin if you like the plugin you can feel free to register by paying $10 (not compulsory).
How and from where to download LR/INSTAGRAM
To get started, you have to visit the official LR./INSTAGRAM website and scroll down until you spot the ‘Download Here’ tab (as shown in the image below). Click on the tab in order to download a ZIP file, and then extract the file in the desired destination.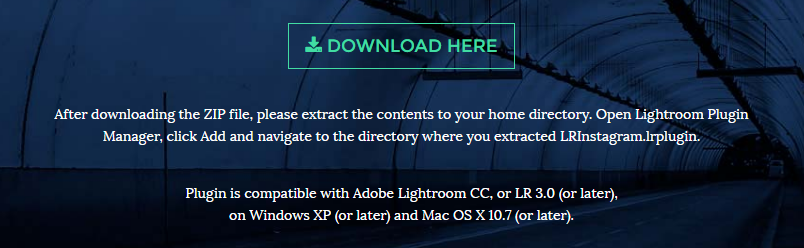
How to add the LR/INSTAGRAM plugin in Lightroom
Now open the Lightroom software and navigate to File > Plug-in Manager, click on the ‘Add’ tab in order to spot the folder where you had extracted the ZIP file and open it. Once you are done with it, the LR/instagram plugin would be added to the Lightroom Plug-in Manager list as shown in the image below.

How to publish photos from Lightroom to Instagram
In order to publish a photo on your Instagram account using the LR/NSTAGRAM plugin make sure that you are on the ‘Library’ section of the Lightroom software. To double check if the plugin has been installed, scroll down at the bottom-left section of the screen until you find the ‘Publish Services’ section. Under this section, you will spot the LR/Instagram tab which ensures that the plugin has been successfully installed.
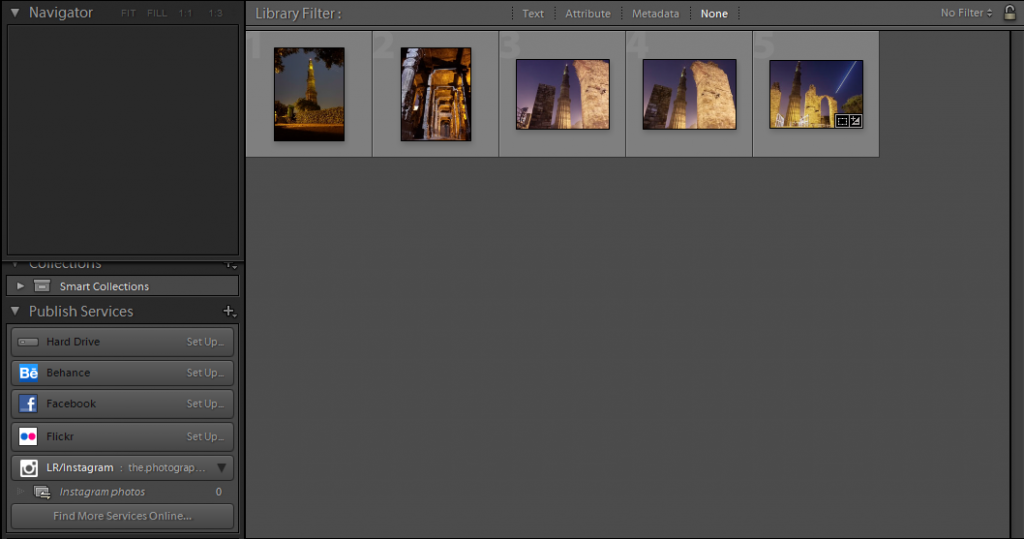
To publish a photo directly to Instagram, simply click and drag the photo and drop it on ‘Instagram photos’ tab placed under the LR/Instagram tab as mentioned in the previous step (can be seen in the image above). Now click on the ‘Instagram photos’ tab to open a new window from where you can publish your photo by clicking on the ‘Publish’ tab placed on the top right corner of the section.
Making adjustments using the Lightroom Publisher Manager
By double tapping on ‘LR/Instagram’ tab you can open Lightroom Publisher Manager window in order to customize the changes in the LR/Instagram plugin.
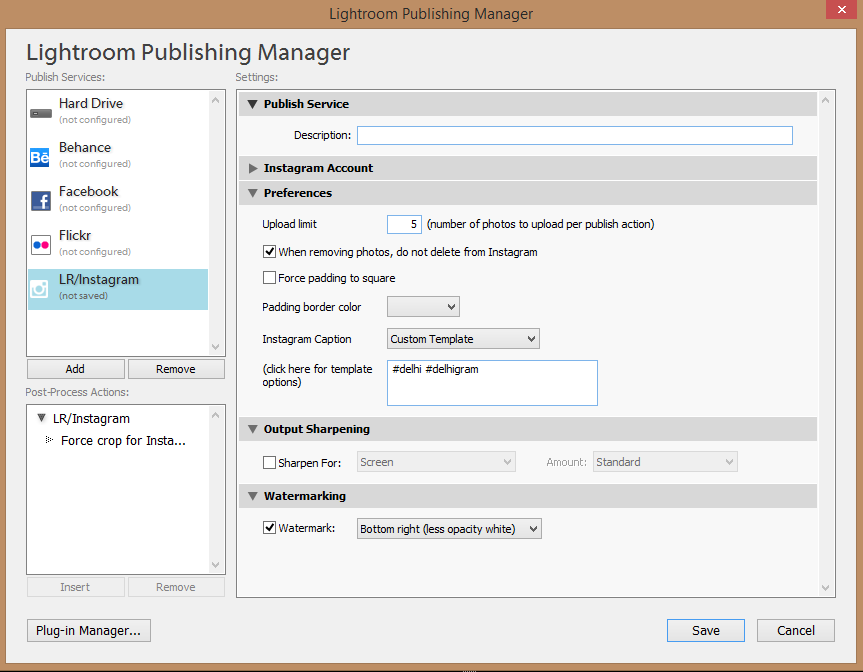
- The first thing that you can customize is the description of the plugin. This has nothing to do with what goes live on Instagram, so this is not that important.
- Next option is to set the upload limit, which defines the maximum number of photos that you want the plugin to publish when you hit the publish tab. This comes handy when you want to upload multiple photos from your recent project in one go, and the limit in the plugin is maximum 5 photos.
- Ensure that you check the ‘When removing photos, do not delete from Instagram’ checkbox, otherwise when you remove respective photos from Lightroom the same would be deleted from Instagram as well.
- Force padding to square option allows you to convert your landscape or portrait photos into the square at the time of getting published on Instagram. It also allows you to define the padding border color, either white or black color.
- ‘Sharpen For’ lets you sharpen the image at the time of publishing, but is it better if you sharpen the image while editing itself.
- The ‘Watermark’ tab lets you add your watermark on the image, either in the form of text or you can upload .png logo file. To know how to create watermark in Lightroom click here.
- ‘Instagram Caption’ is the most crucial customization as it lets you choose description styles such as:
- Only caption
- Only hashtags
- Caption + hashtags
- Custom template

In order to define the caption and hashtags for a particular image, click on the image in the Library section and keep scrolling on the right-hand side panel. Then you will find the ‘Metadata’ tab, click on the dropdown menu placed just next to it and select LR/Instagram (as shown in the image above).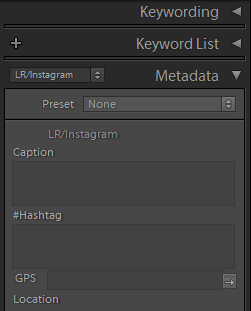
Now as you can see in the image above, you can define the caption and hashtags in the respective columns for a particular photo. If you wish to use a specific caption and a set of hashtags for multiple images you can create presets.
The LR/Instagram plugin is compatible with Lightroom CC or Lightroom 3 and later version. To get started with it, head to their official website.
What’s Trending:
HYPERFOCAL DISTANCE: SECRET TO CLICK SHARP LANDSCAPE PHOTOS
WHY F/22 DOES NOT PRODUCE SHARPEST LANDSCAPE PHOTOS
HOW TO RESIZE OR COMPRESS IMAGE IN LIGHTROOM 5
UNDERSTANDING CAMERA METERING AND METERING MODES
6 SITUATIONS WHEN YOU SHOULD USE MANUAL FOCUS