
Time-lapse photography is something that we all like to shoot using our DSLR cameras. But do you know how to edit a time-lapse video in Adobe Lightroom CC, after you have shot multiple time-lapse photos? You must have been using Lightroom software to edit or colour correct your photos, but you might not be aware that it can allow you to make a time-lapse video too.
You will find many tutorials and blogs about how to make a time-lapse video in Adobe Premiere Pro, but in this blog post, you shall get to know a different and easy method.
MUST READ: What is Stock Photography? Make Money From Photography
How to Make a Time-lapse Video in Adobe Lightroom CC?
To begin with, you need to make sure that you have all your time-lapse photos together in one folder. Now you simply have to open the Adobe Lightroom software and import all the photos from a time-lapse series.
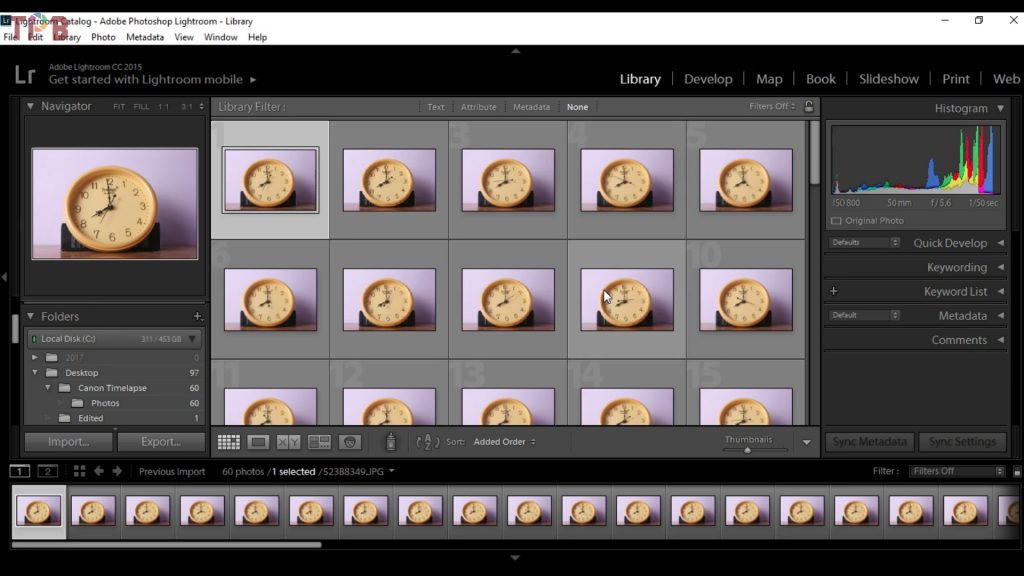
If you want to apply any kind of effect or colour correct the series of time-lapse photos, make sure that you work on the first image. So once you are done with the corrections, select all the images by pressing ‘CTRL + A’ and then click on the Sync tag that appears on the bottom right side (shown in the image below). Clicking on the Sync option applies the changes that you have made to the first image to rest of the images. This makes sure that in the time-lapse video, all the frames appear in sync and compliment each other.

Now comes the part of the blog where we discuss how to finally make a time-lapse video in Lightroom. To get started, make sure that you are in the Slideshow window of Lightroom software. Now you shall see some adjustment tools on the right-hand side panel, but you have to ignore them.
You have to download the Lightroom Timelapse Preset in order to proceed with the process, do not worry there is no virus or form that you have to fill in order to download the file. Once you have the files downloaded, open them and install the presets by double-clicking on each of them. As I shoot time-lapse videos in 25fps and 30fps, so I have only installed these presets in Lightroom CC.

So once the presets are installed in Lightroom, click on the preset depending on the FPS that you had shot the time-lapse photos in. Now all you have to do is save the time-lapse video as per the desired video output such as 720p or 1080p.
If you wish to watch the tutorial visually, I am sharing my Youtube video on how to make a Time-lapse video using Lightroom CC.