
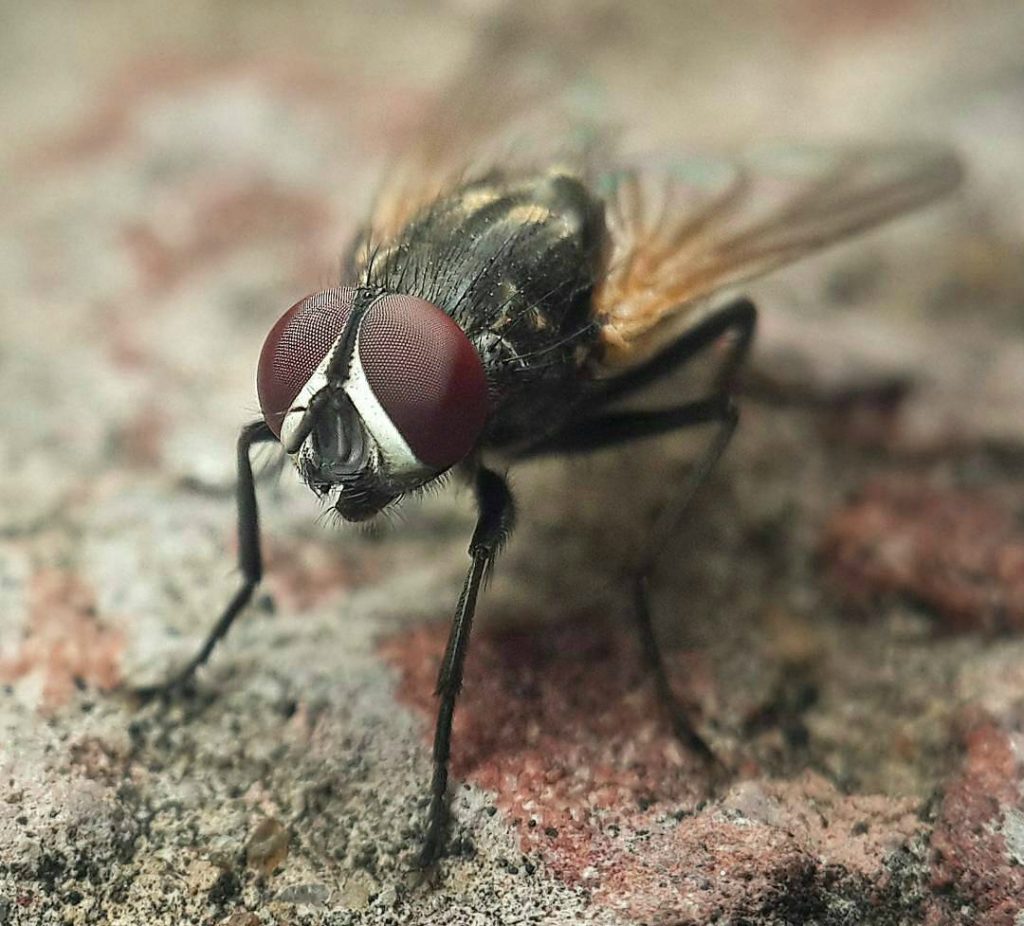
Macro photography is one such type of photography which allows you to capture the real characteristics of the subject. Be it an insect or a random subject, you try to capture it by going closer to the subject with your camera.
You must have been wondering how do macro photographers capture these subject from such a close distance and that too with such good lighting and depth of field. To answer all your questions and doubts related to macro photography, I have made a detailed list of 5 tips using which you shall be able to capture amazing macro photos.
1. Use the correct optics/Lens in Macro Photography
There are multiple ways you can shoot macro photos, but each approach has its own pros and cons. You can start with macro photography by using a macro filter over your normal lens, but do not expect stunning quality images out of it as it is simply magnifying the angle of view.
The other method is using the macro extension tube as it allows you to increase the distance between the lens and the camera, thus allowing you to go closer to the subject. The extension tube is much better than a macro filter but results in average macro image quality.
Using a reverse ring to allows you to reverse the lens and get optically closer to the subject, thus enabling you to manually focus at a much closer distance.
The final and the best way to click sharp and clear macro photos is to use a macro lens. Lenses such as Canon EF 100mm f/2.8L, Nikon 105mm AF-S VR 105 f/2.8G, Tamron SP 90mm F/2.8 and Sigma 105mm F/2.8 are manufactured especially for macro photography and offer professional results. If you wish to get the best possible quality macro photos then you must invest in a good macro lens compatible with your camera. Usually, a good macro lens has 1:1 magnification ratio which means that the size of the subject appearing on the sensor is the same as the size of the subject in real life.
2. Use a Flash with a Diffuser in Macro Photography
While you are shooting small insects or objects, you tent to get very close to the subject. As you are soo close to the subject, you end up blocking the light falling on it. Because of such less distance between the subject and the lens you end up using a small aperture such as f/16 or so in order to have the subject in focus. Now as you would also be shooting at a higher shutter in order to freeze the movement and to avoid shake, you are bound to use a light source.
To begin with, you can use the inbuilt camera pop-up flash equipped with a tissue paper or a flash diffuser. If you want to get better control over the light source, you can use an external light source such as a flashlight or a ring light. My personal favorites are Godox TT685 flashlight and Neewer Macro Ring Light.
3. Take control of the Backdrop by using the correct Shutter Speed
A complimenting backdrop in a macro photo is as important as the subject. If the backdrop is not captured correctly, then the whole essence of the macro photo can go for a toss. You can capture the backdrop in two ways, either make it completely black or capture the colors to compliment the subject.
It is your call whether you wish to capture the colors in the backdrop or complete overpower the frame with the subject by making the backdrop dark. I usually prefer to retain the colors in the background in order to give the photo a lively and natural feel.
If you wish to make the backdrop completely dark, you can do so by shooting at a faster shutter with the help of a flashlight. But if you want to retain the colors in the backdrop, use a comparatively slower shutter speed.
Just to make things easy to understand, the shutter speed controls the ambient light and the aperture value controls the intensity of the flashlight.
4. Focus Correctly While Doing Macro Photography
My first suggest regarding focusing while doing macro photography is to forget about auto focusing of the lens. Do not even consider autofocusing on the subject, by the time your camera would try to focus your subject might fly away. When the distance between the subject the macro lens is very less, the chances of lens hunting for focus increases.
The best practice to focus while clicking with a macro lens is to focus manually. What I usually do is first set the focusing ring to a distance as close as possible, and then hold my camera using both my hands. Now I simply move forward or backwards until I can see my subject appearing clear and in focus, and then click photos in burst mode.
Do not be surprised if you get only 2-3 images perfectly focused out of 10, that is the way how it works in macro photography.
5. Understand Focal Plane in Macro Photography
As we have already discussed, shooting macro photos at a close focusing distance would ultimately result in a narrow focal plane. There are high chances that part of your subject can go completely out of focus if you do not understand how to play with the focal plane.
But it entirely depends on what you want out of a macro photo. If you want to keep the complete subject in focus then you will have to try and frame your photo in such as way that the subject is in the focal plane. In order to do so, you will have to make sure that the subject is parallel to your lens, lying flat. Whereas if you want to intentionally want only the head of the insect to be in focus and the rest of the body to be out of focus, then you do not have to worry about the narrow focal plane.
What’s Trending:
5 UNIQUE CAMERA FEATURES OF MI MIX 2
5 NEW YEAR GIFTS FOR SMARTPHONE PHOTOGRAPHERS
TIPS TO CLICK PHOTOS IN LOW LIGHT CONDITIONS WITHOUT USING FLASH
HOW TO ACHIEVE MAXIMUM BACKGROUND BLUR
GETTING STARTED WITH HDR PHOTOGRAPHY
7 TIPS TO INCREASE SHARPNESS IN YOUR PHOTOGRAPHS
BACK BUTTON FOCUS: HIDDEN FEATURE TO CLICK SHARP PHOTOS